Welcome to my passion project. This project was designed in my Technology class as an inquiry for us as future educators to pursue. We could choose any topic of choice and had to create a weekly post/check in on how the project was going. I chose to do my project on Editing video clips. From a young age, I have always had an interest in creating video and cinematography, however have not put much time into learning specific techniques and processes to make my videos better. Below I show my progression from simpler transitions and effects with editing to more advanced editing. This was a joy to complete and got me thinking all the different ways in which I could implement my newly developed skills into the classroom.
Speed Ramping
Speed ramping is a video technique widely used by content creators to create dramatic or cinematic effects commonly used within B-roll. B-roll is a term to describe any extra footage caught by the camera that is used to enrich the original story with videography that would normally be added. While used within a B-roll clip, speed ramping is the art of cutting, slowing down or speeding up the clip. This is demonstrated in the clips below how impactful changing the speed of any video clip can affect the entire video’s overall mood or atmosphere. It is all up to creative interpretation of how speed ramping is integrated into the clips.
This link below is the raw footage without any added Speed Ramping.
The second link below is the edited footage.
Transitions
Transitions are an extremely significant element when it comes to video editing. Having a transition that blends well with the clip allows for an overall smoother flow within the entire video. There are many more dynamic transitions that one can utilize to increase the overall appeal and quality of the edit. For example, the transitions utilized in this video apply an effect that selectively dissolves the background quicker than the main subject. This allows for the subject to blend into the beginning of the next scene. For a crucial moment in the clip, this slight enhancement of having the subject fade out last, could be used to add to the story and the cinematography as it adds to the depth and interest. Near the end of the video, I also integrated a transition that moves with the camera, fading with clouds into the next scene. It is so important to realize these small details in an edit that can really transform your clips that you’re using. Below is an example of the same clip with no transitions and it is easily distinguishable where the clip stops and starts, with a harsh cut that is very unpleasant to the eye.
This link below is the raw footage without any added transitions.
The second link below is the edited footage.
Colour Grading
When it comes to video editing and videography, proper lighting is arguably one of the most important things along with colour grading. Have you ever thought of how a batman movie was able to get so dark? That was due to the colour grading integrating dark, dreary tones into the already dreary film. Through utilizing proper colour grading, a shot can go from looking bland and unoriginal to vibrant and exciting or to extremely warm and soft. There are so many possibilities when it comes to colour grading footage; the creativity is endless. Below is an example of an unedited clip of a student standing with their skateboard first with no colour grading and second with colour grading integrated.
This link below is the raw footage without any colour grading.
The second link below is the same footage with added colour grading.
Surface Tracking
Surface tracking is an advanced video technique that allows the user to place different images on a moving surface inside the video. Using this technique, video creators can place various ads or informative pieces into their projects without having the image stand out or look out of place. Below I used the surface tracker to place the image on the main subject. Utilizing this technique allows the creator to subtly place this image in the background, possibly to cover up specific writing or copyrighted products. This surface tracker works because each individual dot is placed on the subject you would like to track.
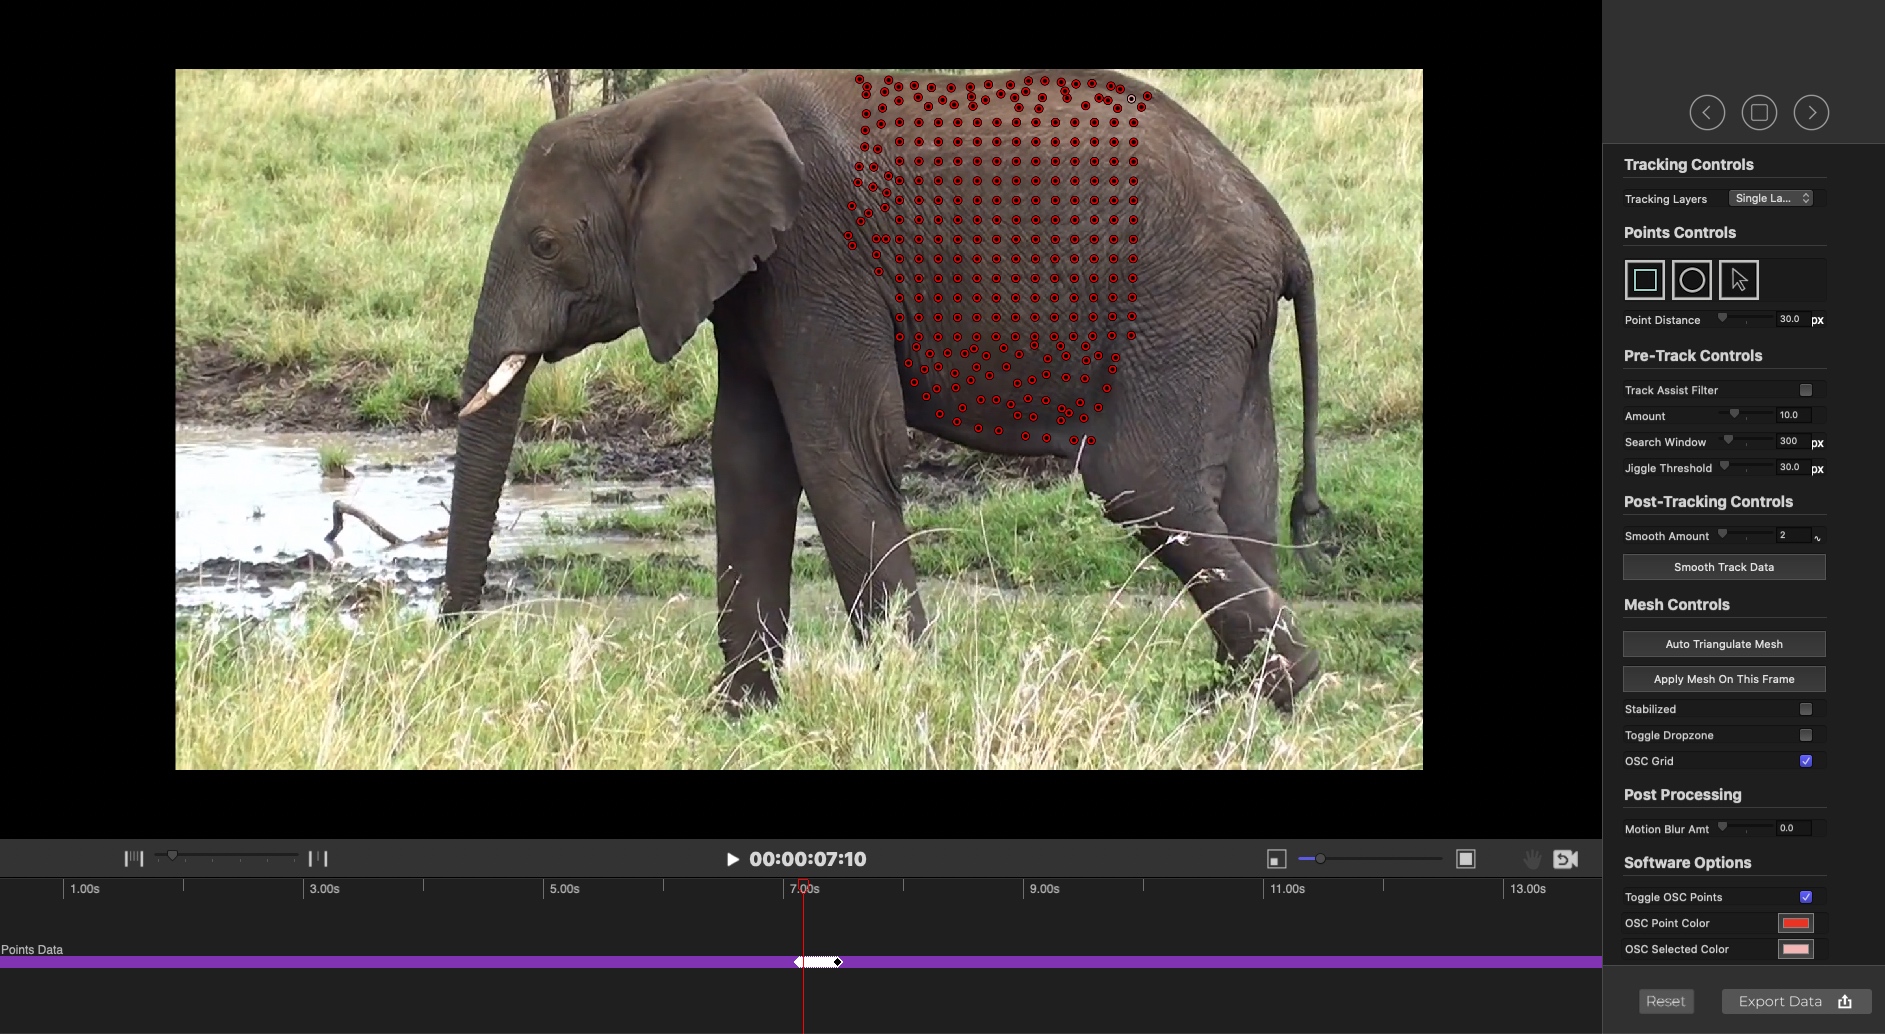
Then, after rendering each frame out, you add on the triangular mesh, which accounts for the subject’s movement.

The more tracking dots one has on the subject, the better. Finally, export the tracking effect and apply the image to receive the impact on the clip. This link below is the raw footage without any surface tracking.
The second link below is the same footage with added surface tracking.
STabilization
Stabilization is another crucial edit when it comes to working with video. Creators many times when they are on the move or do not have enough time to bring out their full gimbal to shoot stabilized footage, will use a point and shoot method of filming. This essentially means that the creator films his content with only his hands trying to keep it as steady as possible. However, when the content involves movement or walking or running, getting that perfectly smooth shot is nearly impossible without any extra equipment. The stabilization used in the below clips is not the typical stabilization edit that one would usually see. Within Final Cut Pro, there is a function where the software will detect movement and auto stabilize the clip for you. However, what the program is ultimately doing is zooming in to allow the viewer less movement in the clip. That works many times; however, in some more advanced cases, a more advanced stabilization is required. For the example below, I used an auto tracker stabilization plugin that tracks a specific point on the video through each frame. This ensures that whatever point it is set on, the stabilization will be based off of that. This technique is also extremely effective if you’re trying to highlight specific movement in the shot and have the camera move with the subject.
Vs
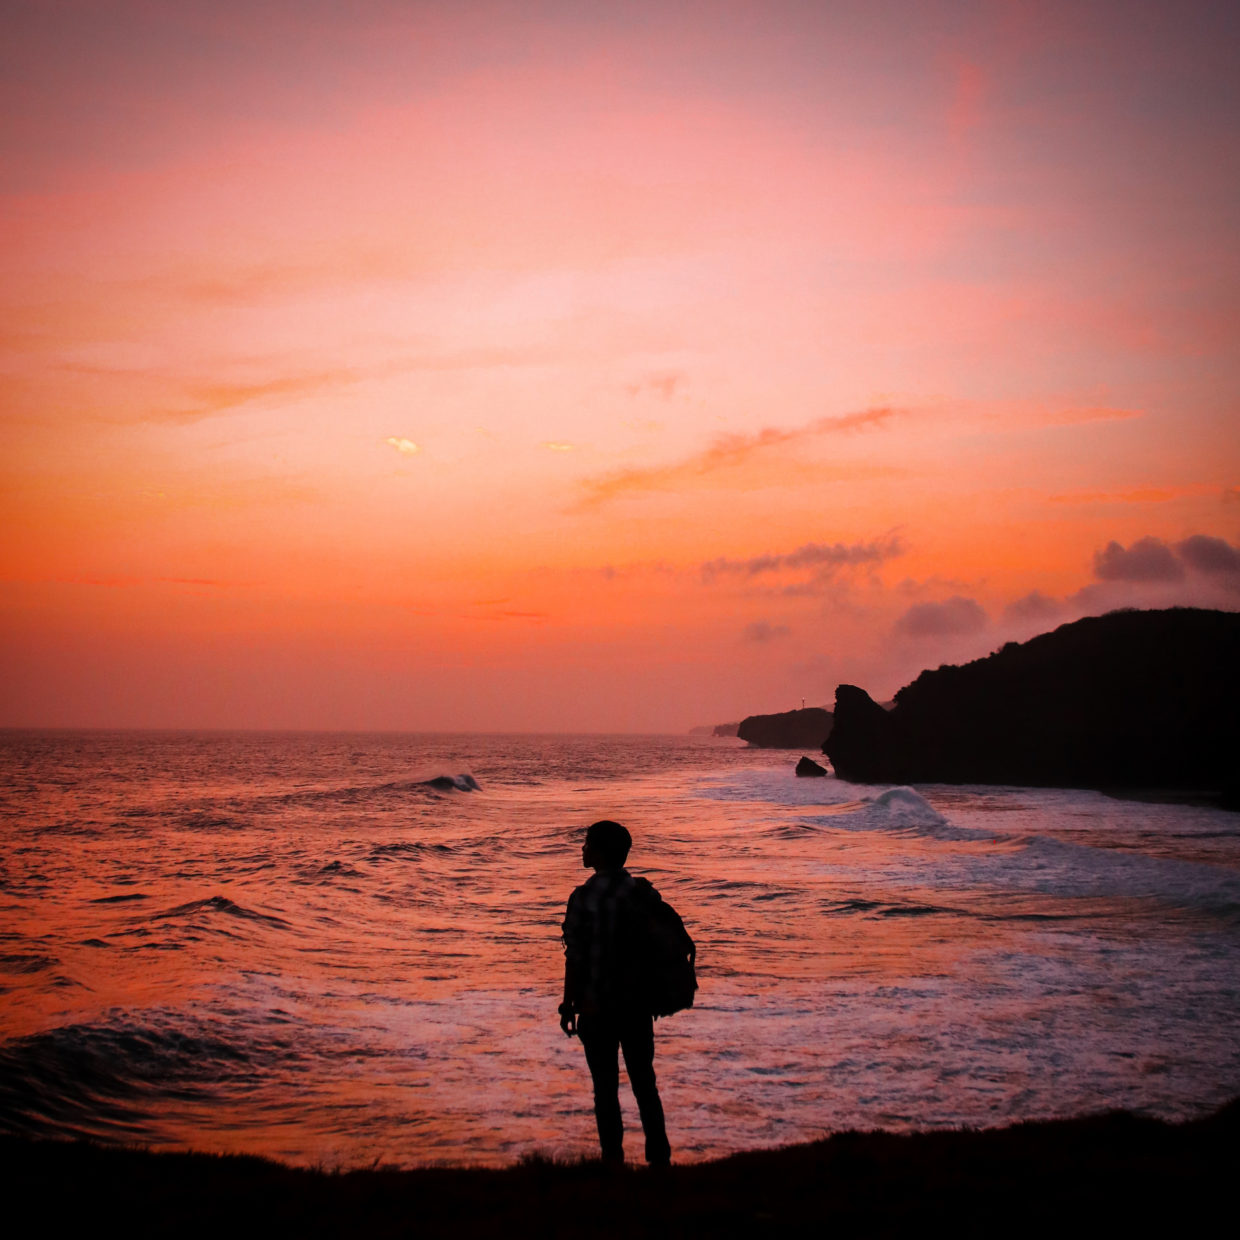
Day To Night Effect
This week I focused on combining a few editing effects to layer on top of one another to create a compound clip. The main effect which I was focusing on was called the day to night effect. This effect essentially darkens the video in which the effect is applied to create a nighttime scene from a day scene. In the video below, I used keyframes to gradually transition from the day scene to the night effect while simultaneously applying a shape mask to the clip.

A shape mask is a way to define the part of the image I want to apply the effect to. In this case, I used the shape mask on the sky to allow a different night time sky to replace the original. This allowed me to crop out the background and fade in a different sky at the exact time the clip becomes dark. These transitions combined create the video below where the effect creates a scene that begins in the day, transitions into the night and then shows the northern lights.
Rain Effect
This week I implemented a rain effect onto the clip. This effect is used by videographers to set a particular mood within the clip. As seen below, the first clip of the raw footage shows the cars in standard time, in the middle of the night. However, in the second clip, the rain effect is added, allowing for a more dark, gloomy feel along with the raindrops falling from overhead. I also added the rain sound effects to enhance the clip further.
Cartoon Effect
This week I added numerous cartoon effects to the clip. In this clip below, the person is frolicking in the meadow, vividly dreaming. One way for the videographer to further enhance this idea of her dreams coming to life is to add effects to represent them. In the clip below, the edited footage adds white rainbows, stars and flowers surrounding the subject. This enhancement adds to the story and places the subject in an alternate world where her dreams come to life.
Disintegrate Effect
This week’s effect encompasses a simpler version of the disintegrates effect used in the recent Avengers movies. This effect is used for dramatic effect to have your subject disappear and float away into tiny particles. This effect utilized a draw mask and the disintegrate plugin, allowing the user to fully control how many particles and direction they are flowing (speed, gravity etc.). For this clip, I utilized the dissolve effect to make myself disappear.
Audio Effect
This week I implemented an audio effect to enhance the music playing in the background. This effect is mainly used in music videos as it applies light rays that stream from all aspects of the video. Through this plugin, these streams can sync with the music, therefore flashing/glowing to the beat of the music. You can also edit the frequency to allow the light effect to pulse at different moments of the song, allowing for a greater impact on the viewer.
Final Christmas Combo
This is the final week of my inquiry on video editing. As we’re getting into December now, I created a video clip compiling many of the above effects to allow for a more immersive experience. I am still in the process of learning the more advanced aspects of editing within Final Cut Pro X; however, through working weekly on these small projects, I can confidently say that I have learned a lot. The next step for my editing journey would be to look at storytelling and filming. As demonstrated above, I am able to creatively implement these editing techniques into clips I find on the internet. Now the challenge will be to implement them into my own clips/videos, which I film. I have always had a passion for video editing and will continue to edit throughout my educational career.